Ron Pope Motorsports                California Custom Roadsters               

Big redo of the old bucket

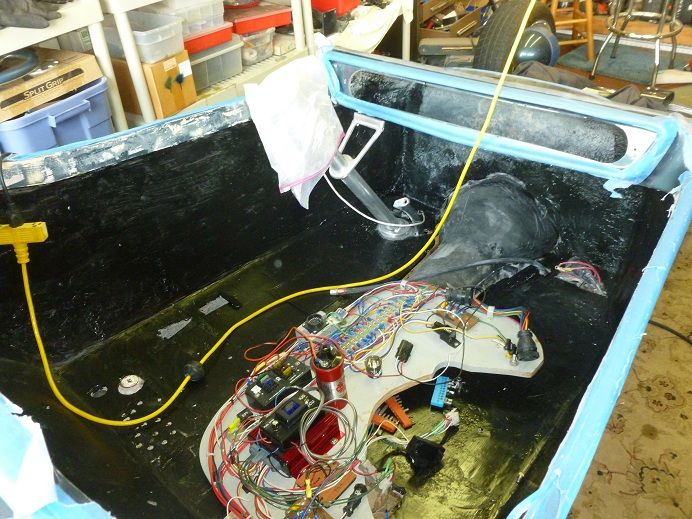
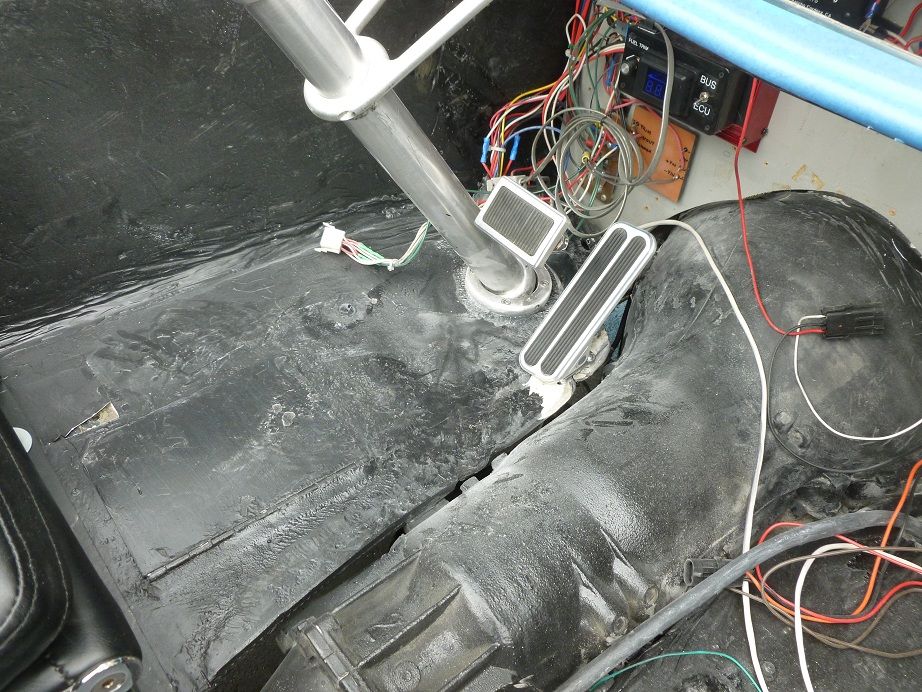
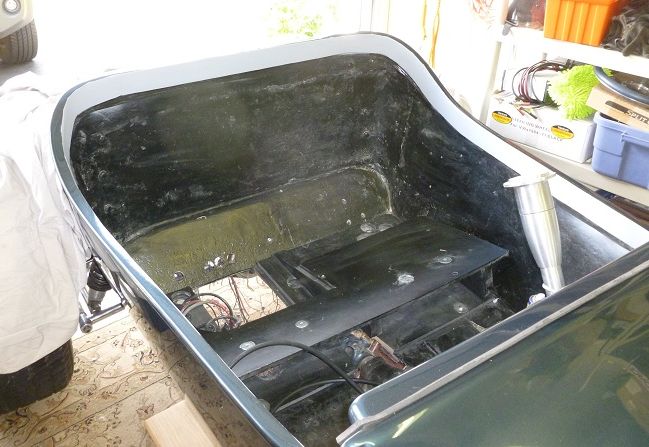
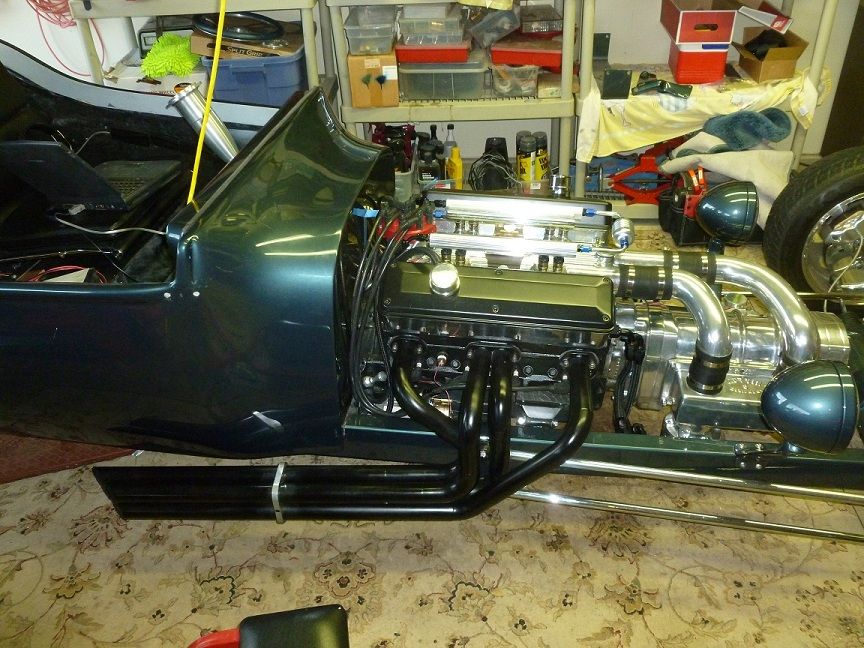
More sanding and Bondo, will it never end? Cut the firewall (inside view) to clear the raised tranny and shaped a slot for all the hoses and wiring from the engine:
P1010275.JPG


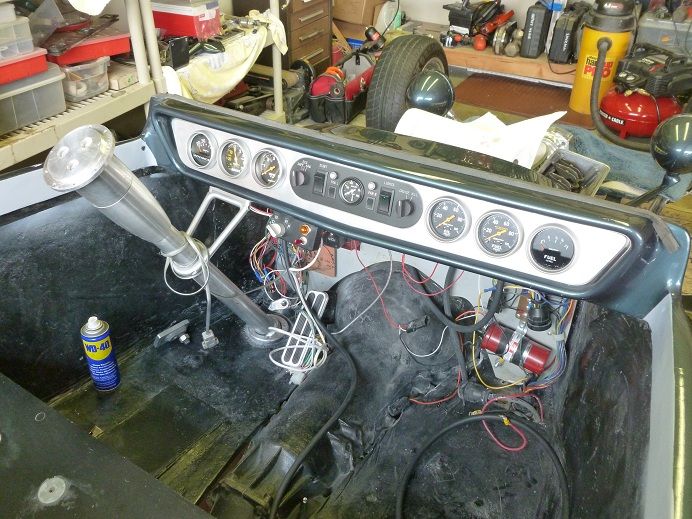
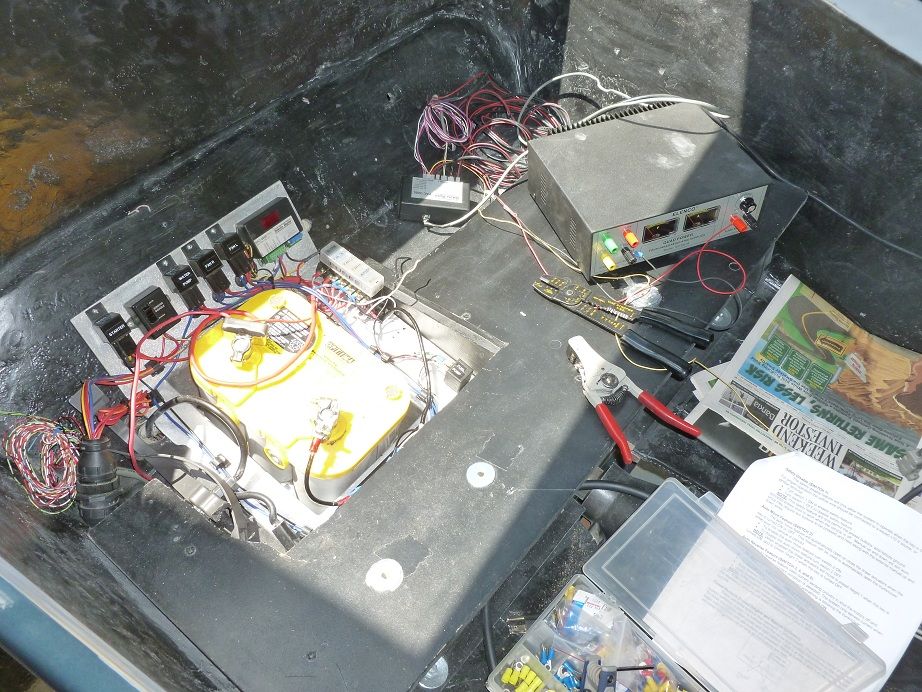
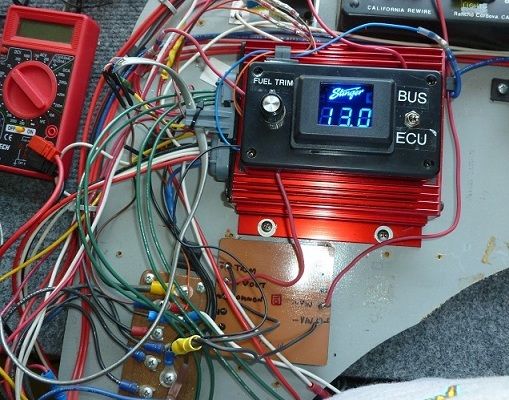
I think I've tamed the Haltech ECU. Added a DC-DC converter to provide the ECU a constant 13 volts regardless of what the alt/battery is putting out. And a readout to check the voltages:

P1010277.JPG
 
I've done all the Bondo and sanding I can take for now:

P1010278.JPG


It's not glass-smooth, but cruise season starts in 2 weeks and I have miles to go before I sleep.

Finished the electric shifter:
P1010281.JPG


The control head, including turn signals:

P1010280.JPG


I had plans for a custom console with instrument panel, but time does not permit. Next winter...

The intake manifold is at RavenWorks for new Accel injectors, bungs and fuel rails. Old ones leaked; not their fault, bad machining by original engine builder.
 
Rewired the dash for new gauge lineup:
P1010288.JPG


P1010290.JPG


All wiring goes thru one plug. That plus a few hoses, and the dash comes out.


Raising the tranny left even less room for pedals and feet, so I tried Lokar's floor throttle pedal:
P1010292.JPG


This is a nice billet piece, but not real versatile. If you have a thin flat floor and plenty of open space underneath, then it's an easy install. But my thick wavy 'glass floor and the nearness of a steering column, brake assembly and tranny made for a day of trips to the hardware store and mods to Lokar's design. As you can see from the driver's view, I'm gonna have to tweak the brake arm to uncover the throttle pedal. There are better ways to do this, but I'm in warp drive mode now. Next winter maybe I'll do it over.
P1010295.JPG

P1010296.JPG

P1010297.JPG

And the throttle body and cable:
P1010298.JPG


And now a story: Once upon a time, there was a youngish bucketeer who perhaps got his size 14 on the gas and brake simultaneously. The gods were kind and all he suffered was a bent wheel, a busted tranny pan and a bad case of the jitters. Or so I've heard. In any case, I decided to make sure it didn't happen again. I designed a simple circuit to trick the ECU into idling the motor if both pedals are pressed. It only works for EFI, but if you're interested PM me for details.
 
Odds and ends. Made some new water hoses in black:
P1010302.JPG


Dash and electric panel installed:
P1010304.JPG


...and working on the top rail of the body. It's made of hardwood blocks, originally used to anchor the upholstery. I've Bond0'd it, sanded and primed:
P1010303.JPG


I was going to paint it body color, but thinking now of satin aluminum to match rest of interior trim. What you think?
 
Usually I don't go for a lot of brightwork on a bucket, but I like the satin aluminum idea--it will go well with the dash insert. A sophisticated look.
 
Finished most wiring today:
P1010310.JPG


Tested everything OK. Love my Optima battery; 5 years and it's going strong. Here's how you wire under the car:
2012%2520redo2.jpg


Used SUV to pull bucket up onto ramps.
 
Racing to make the big Back to the 50's show in 2 weeks. Got the manifold back with new Accel injectors, bungs and fuel rails. The motor is starting to look like something:
P1010312.JPG

Interior is almost finished, albeit crudely:
P1010316.JPG

Didn't get around to the console I designed, so the tranny is going topless this summer. Saw that cupholder on a bus we took this week and ordered a couple from Amazon. Folds closed when not in use. The seats stick up out of the cockpit:
P1010318.JPG

...but I knew they would. I'll evaluate the look and feel of it for a while. The chairs are available in a low-back version if I change my mind.
A few more hoses and wires and we'll fire this baby up. Stay tuned.
 
Quick update. Tried to start motor and found multiple problems. Lots of water in oil, no manifold vacuum, and a huge oil/water leak near rear seal. Pulled the intake, but the new gaskets look good. Working now to locate the water getting into the oil. Then will have to drop pan to find the leak there. One step forward, two steps back...
 
The water/oil thing has been resolved (see "are all SBCs the same" in Engines). Next I will try to find the big leak. Have a new pan, 1-piece gasket and a stud set. Hopefully it was just a slip of the gasket at the rear seal area.
 
I don't want to get off on a rant here, but is it too much to ask that oil pans, gaskets and stud kits all supposedly made for a gen I SBC should fit together? The gasket doesn't cover the hole for the dipstick on the passenger side. But it sticks way out on the driver side dipstick, not fitting to the pan at all. The big nuts for the corners of the pan had skirts too big to fit the pan (your bad, Milodon), so I ground them off. Then it was still too tight to get a normal socket on the nuts, so I had to get a skinny socket.

Anyway, it's all together now, used a drill and oil pump primer until oil came out of the pushrods. Maybe get to fire it up tomorrow and see what happens.

I am enjoying watching your build and feel your pain on new parts that don't fit! My new water pump would not bolt down onto the new timing chain cover on my project and I spent as much time getting it to work as I did installing it. You have a unique piece there so keep up the good work and the pictures.
 
I learned years ago, sometimes the most simple jobs can be the most aggravating. You are building a car that many will talk about. Love to see in person.:thumbsup:
 
Flatsman, sstock, you give me hope to carry on. You might recall I decided to move the water hoses from the manifold to the heads, for better looks and maybe better flow. Took longer than I thought (what doesn't), but I think I got it whipped:

2012%2520redo3.jpg

Glued the fitting to a washer, then glued the washer to the head. More area, more strength, or so I imagine.

Then filled the water system and ran the electric pump for a while to get all the air out. Used the 4 bleed valves at the corners of the heads and got a lot of air and foam out:
Recently%2520Updated1.jpg


Got tired of holding the hose, so just let it spit into the bucket while I added water to the radiator. Eventually all 4 corners ran clear.

Here's where we are:
P1010326.JPG


Ran the fuel system, found one damaged injector O-ring (just a tiny flaw and it leaked like crazy), replaced that and it's good to go. But stripped a thread mounting the air box on the blower, so it's off to find a Helicoil kit. You really gotta love this sport or maybe just be a masochist. Stay tuned.
 
All assembled and cranked the motor. Spark, but no fuel. I think it is in the ECU or maybe a fuse. Very hot here today, so knocked off and will pick it up in the morning. Maybe I can post a video of it running.
 
PovtinGuy, Saw povtin set-up on "Storage Hunters" and Antron Brown estimated it to be worth $3000. That was everything except the blower itself. Will they really bring that kind of money?
 
Last I checked with Moon (they acquired Potvin in 1963) they were selling new kits for $3000, less blower. Used might be more or less, depending on the history and condition.

Mine is NOS (found it in the original box at a FL speed shop 20 years ago), but it was missing the blower end plate that says Potvin. I asked Moon if they still had the molds (they didn't market the system at that time), and they made the plate for me; nice guys. Then it started to appear in their catalog. They are still used at Bonneville for the low profile. I met Fred Larsen, the guy who tuned the Mooneyes dragster and had his own streamliner (still holds some records).

Funny story: when they run the dragster at exhibitions, a crewman with a big hammer stands by the popoff valve. A backfire will open the popoff valve and sometimes it will cock and stick open. The crewman hits it with the hammer to close it!
 
HIGH TECH HAMMER!! That's funny! Love your car, just wish I had moved to Ok. before you left Texas! Thanks for the info. John
 

     Ron Pope Motorsports                Advertise with Us!     
Back
Top