

Time flies, especially when it's -25F out and one can't work on the bucket. But got a few things done this weekend:
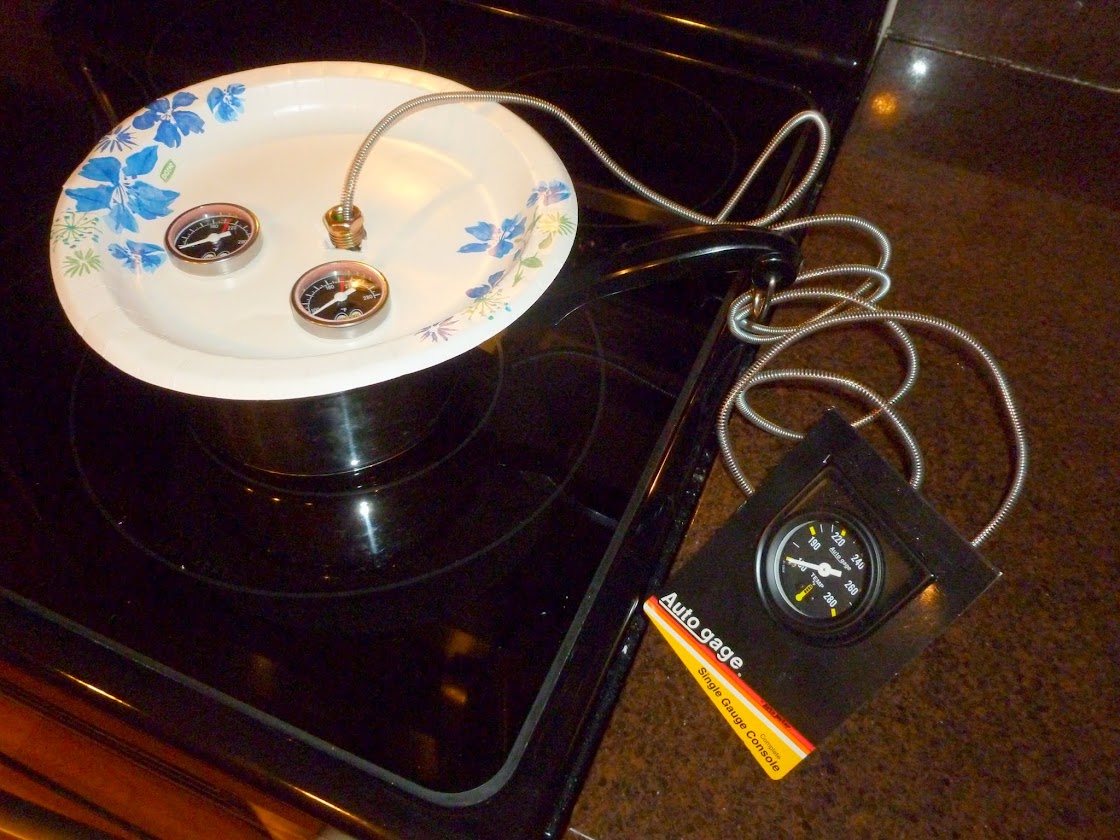
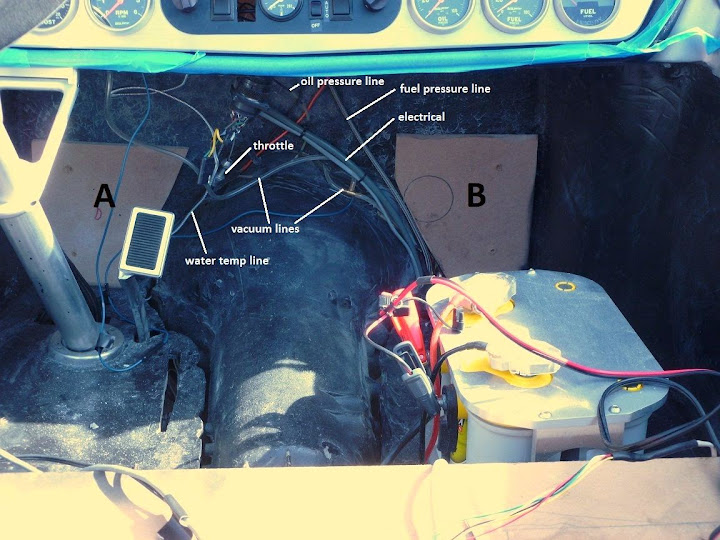
My car has 5 temp sensors (EFI, fans, and 3 shown above). I wanted to see how well the 3 gauges matched, so stuck them in a paper plate and hung them in a pan of heating water. They are good to within a few degrees. The Moon gauges go in the heads and the other gauge in the dash.
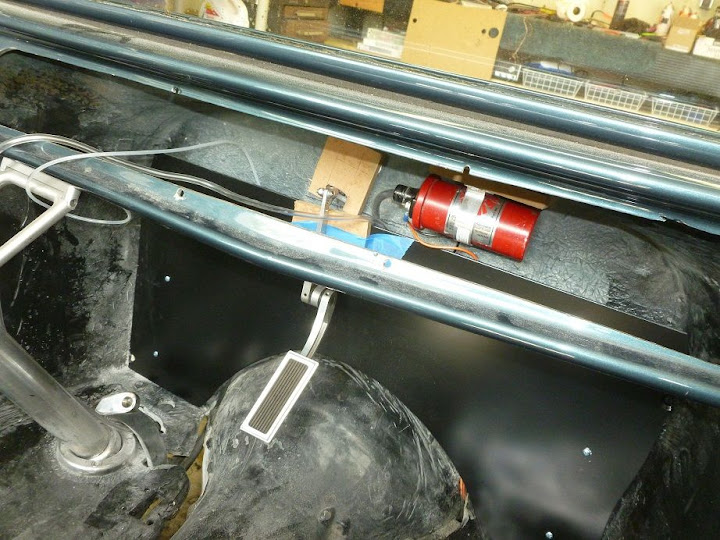
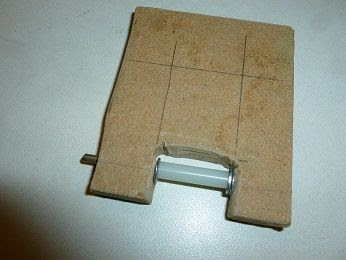
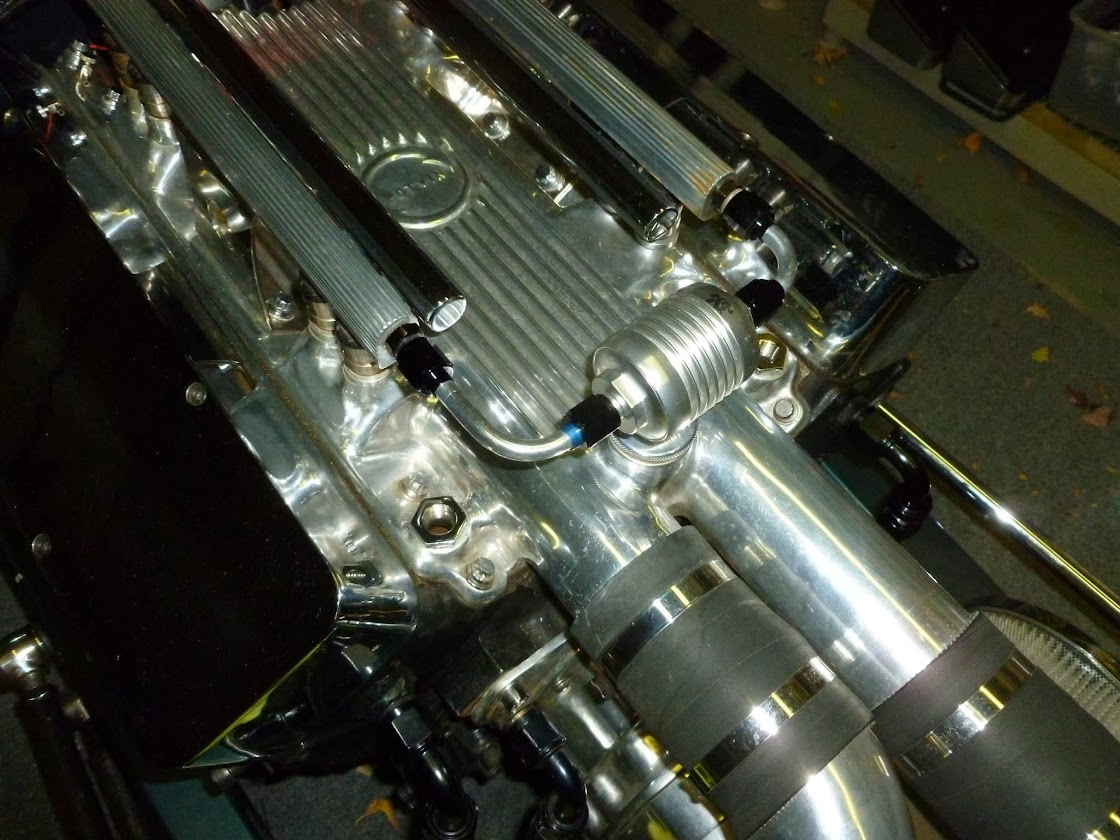
Redid the fuel filter plumbing:
...and redid the water plumbing:
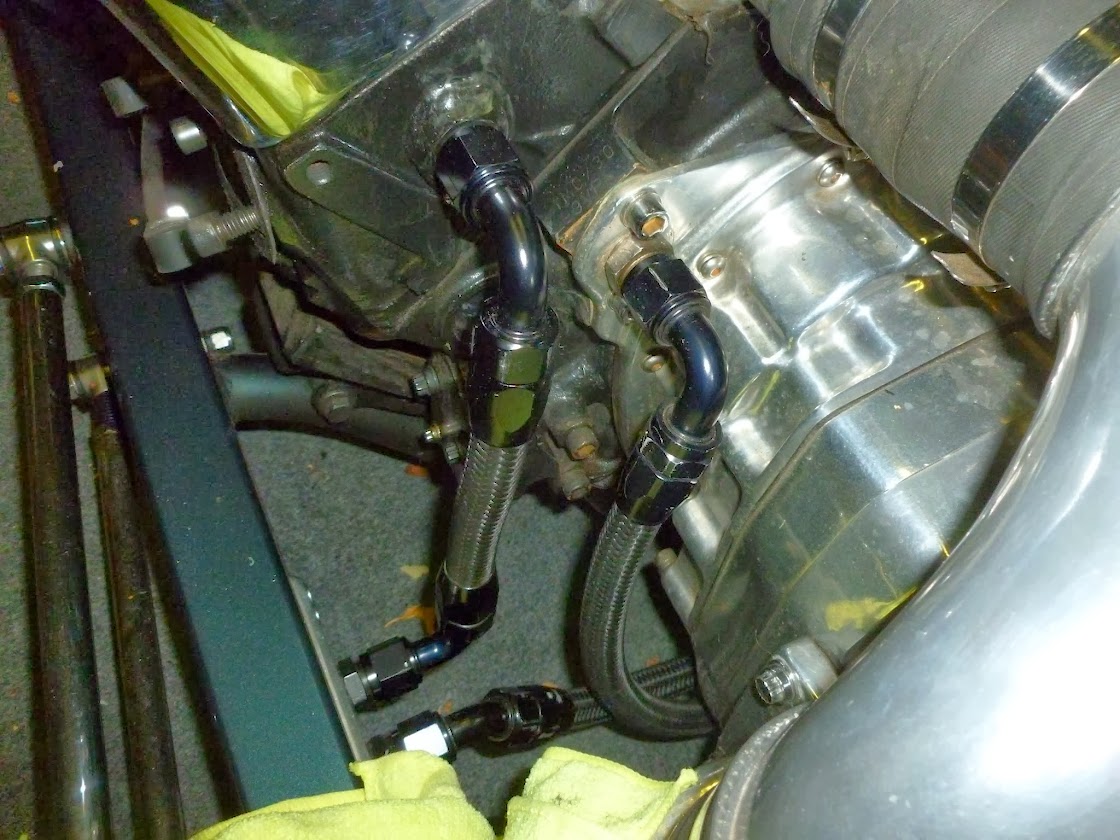
Cooled water goes into heads. Hot water exits from block to return to radiator. This is "reverse cooling," supposed to give more boilover headroom since cool water goes to hottest part of engine first. I probably wouldn't bother, but for me it's just a matter of swapping hoses!
My car has 5 temp sensors (EFI, fans, and 3 shown above). I wanted to see how well the 3 gauges matched, so stuck them in a paper plate and hung them in a pan of heating water. They are good to within a few degrees. The Moon gauges go in the heads and the other gauge in the dash.
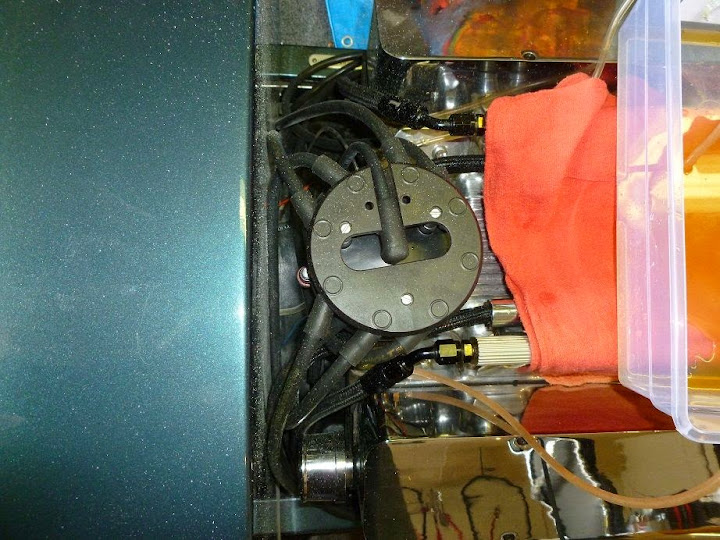
Redid the fuel filter plumbing:
...and redid the water plumbing:
Cooled water goes into heads. Hot water exits from block to return to radiator. This is "reverse cooling," supposed to give more boilover headroom since cool water goes to hottest part of engine first. I probably wouldn't bother, but for me it's just a matter of swapping hoses!