

Tjbucket
Member
Give me some feedback or criticism...this is my first project, it has been more of a rebuild than complete build. However, some things I have completely have been completely redone. My intent going into it was to do as much myself as I can.....and so far I have. From paint and body work, welding, wiring, bent all new lines brake and fuel and plumbing. Fiberglass and interior. Getting ready to start the seat.....spring is coming and need to get this on the road!!
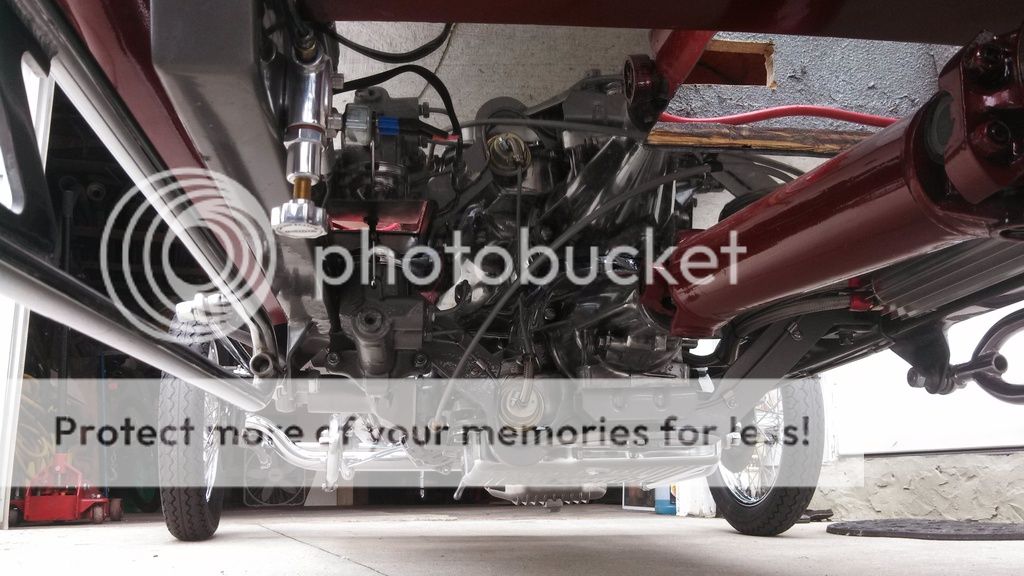
Under the bucket, was getting ready to set the bucket in place and put painters tape on the frame to avoid scratching.
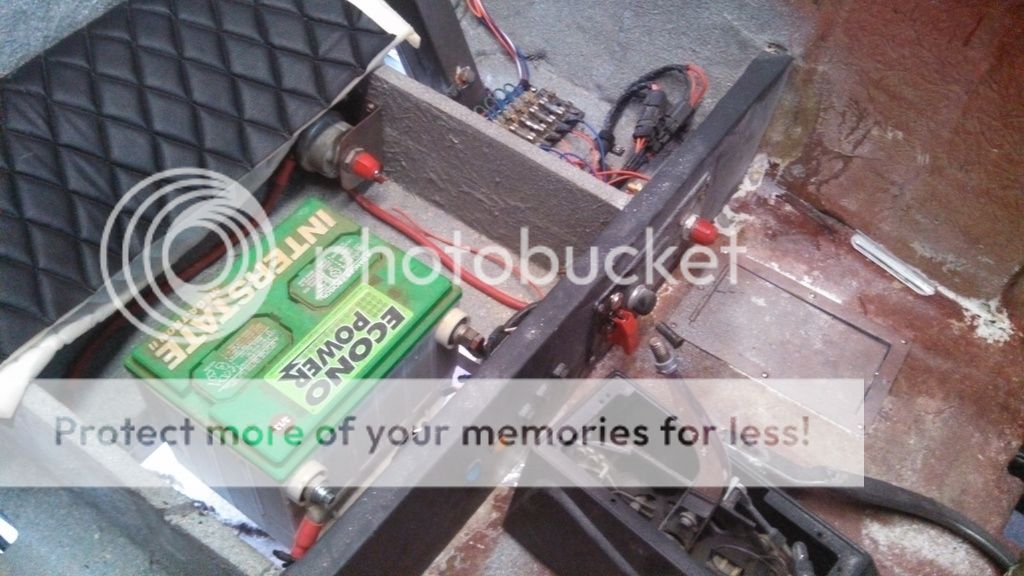
Here is my switch panel on the toe kick. Master switch panel with push button start, directional, horn and lighted headlight switches. A second master under the seat.
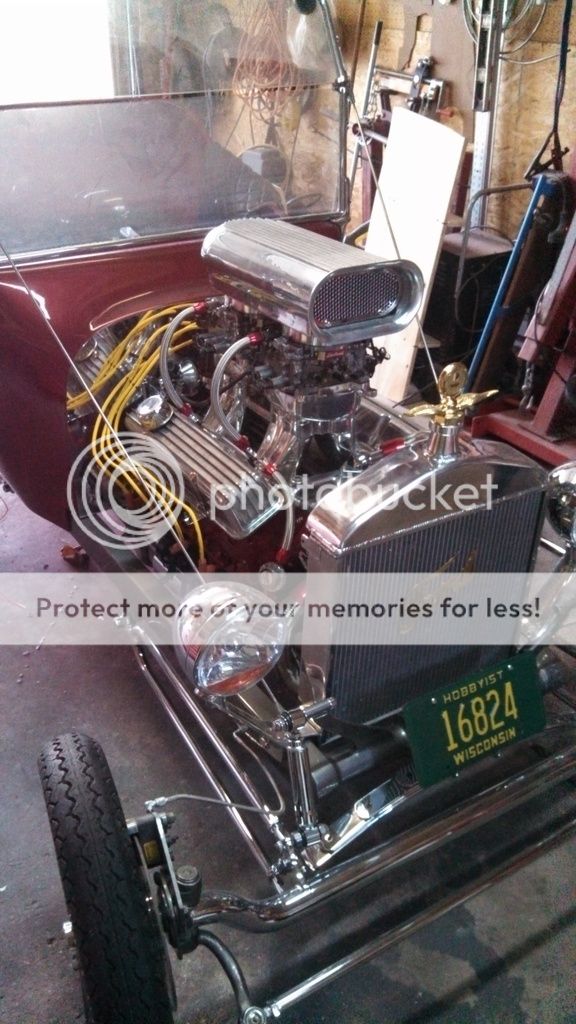
Tunnel ram (ok, got it not very popular) it, has a nice look but, not the performance. It will get replaced down the road, but cannot fund a new intake right now.....too may other items were needed. The shocks have since been repositioned and the bottoms are now connected to the spring shackle and sit almost straight up and down.
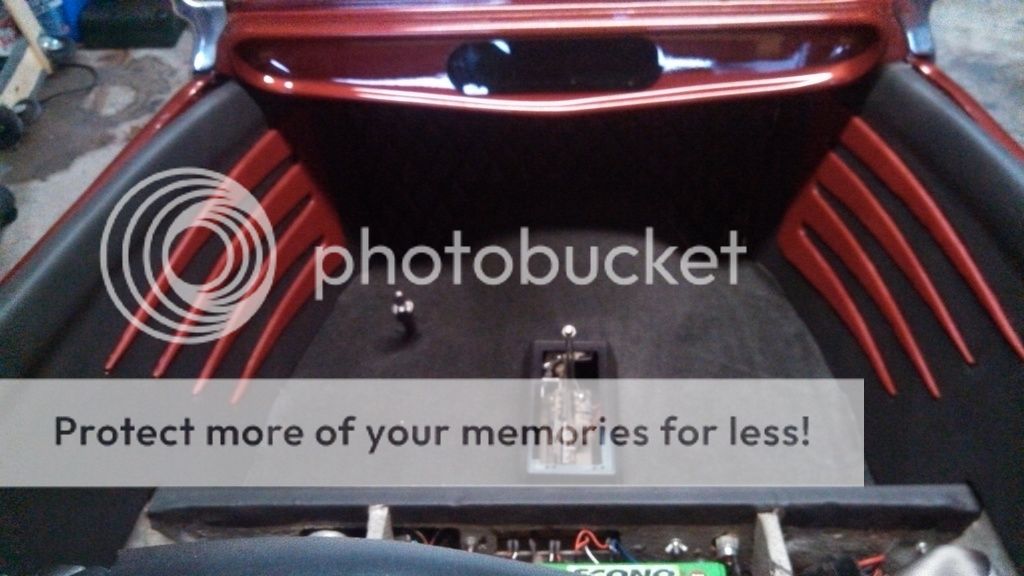
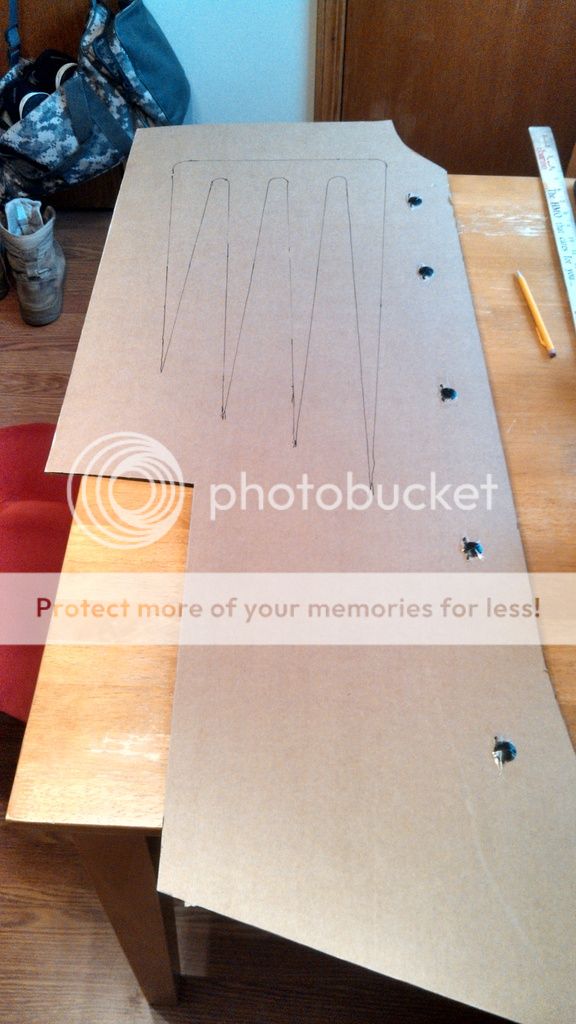
Here are the interior side panels I made.....not fastened yet to the sides so there looks like there are gaps near the dash. Floor is carpeted...not cuts or seams.
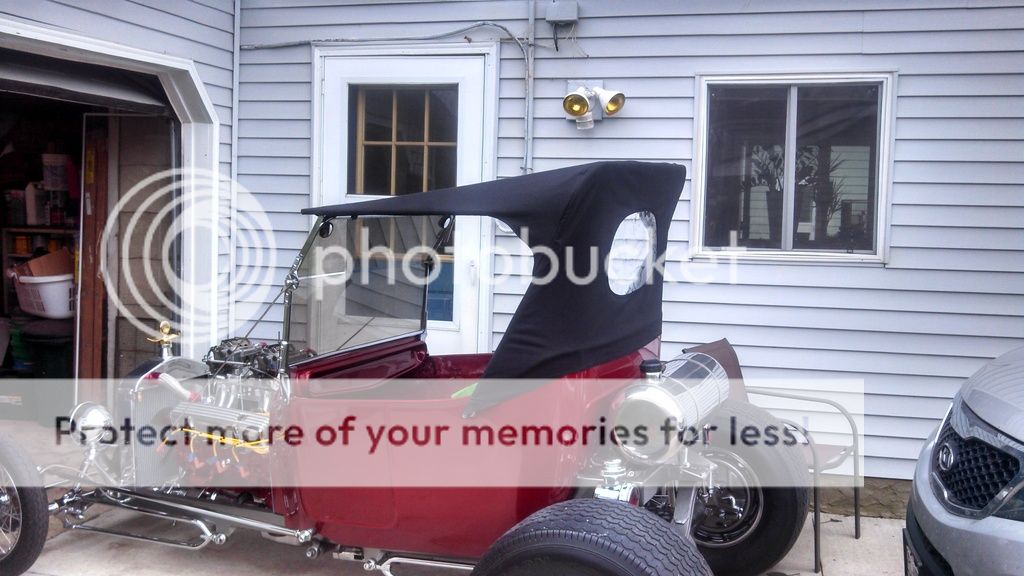
Here is the top my sister and I made of light weight canvass. It looks taller than what I was shooting for, may need to get a shorter windshield down the road.
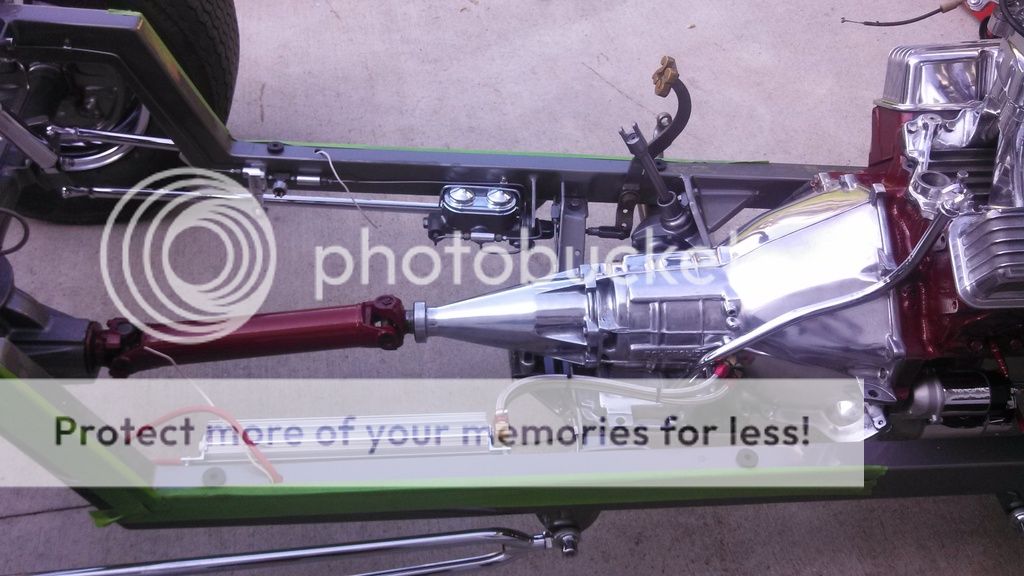
This picture looks a little busy.....yes, I covered the bottom of the bucket with a mirror. The hole you see above the drive shaft is where the battery drops down into from under the seat.
Here is a shot of the top frame I made up from 1/2 electrical conduit.....cost me $12 verses $200.

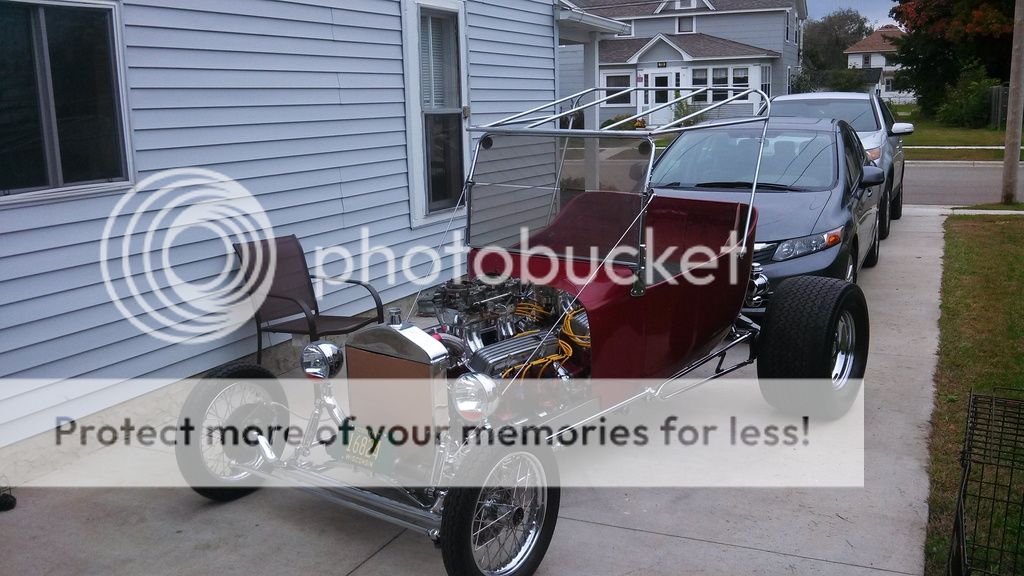
Here is a rear shot...yeah the tires are not the greatest but, got them on a trade for some other parts. Those along with some other items will be changed out down the road. Ok, it has a buggy spring, I like the look.....we will see about the ride this summer.
Under the bucket, was getting ready to set the bucket in place and put painters tape on the frame to avoid scratching.
Here is my switch panel on the toe kick. Master switch panel with push button start, directional, horn and lighted headlight switches. A second master under the seat.
Tunnel ram (ok, got it not very popular) it, has a nice look but, not the performance. It will get replaced down the road, but cannot fund a new intake right now.....too may other items were needed. The shocks have since been repositioned and the bottoms are now connected to the spring shackle and sit almost straight up and down.
Here are the interior side panels I made.....not fastened yet to the sides so there looks like there are gaps near the dash. Floor is carpeted...not cuts or seams.
Here is the top my sister and I made of light weight canvass. It looks taller than what I was shooting for, may need to get a shorter windshield down the road.
This picture looks a little busy.....yes, I covered the bottom of the bucket with a mirror. The hole you see above the drive shaft is where the battery drops down into from under the seat.
Here is a shot of the top frame I made up from 1/2 electrical conduit.....cost me $12 verses $200.
Here is a rear shot...yeah the tires are not the greatest but, got them on a trade for some other parts. Those along with some other items will be changed out down the road. Ok, it has a buggy spring, I like the look.....we will see about the ride this summer.

")